


sales@layvikay.com

Email us:sales@layvikay.com
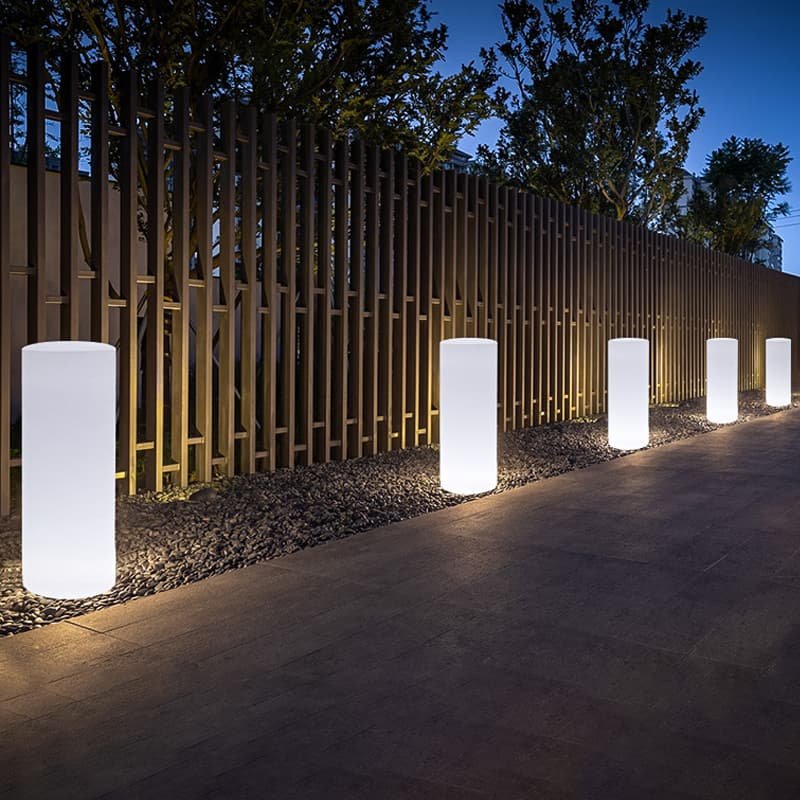
Installing pillar lights can be a great way to enhance the aesthetics and functionality of your outdoor space. Whether you want to illuminate your driveway, highlight architectural features, or create a warm ambiance in your garden, pillar lights can provide the perfect solution. There are different mounting options for conventional AC pillar lights and solar pillar lights. In this section, we will guide you through the step-by-step process of installation for these two kinds of pillar lights to ensure you have a seamless and successful installation experience.
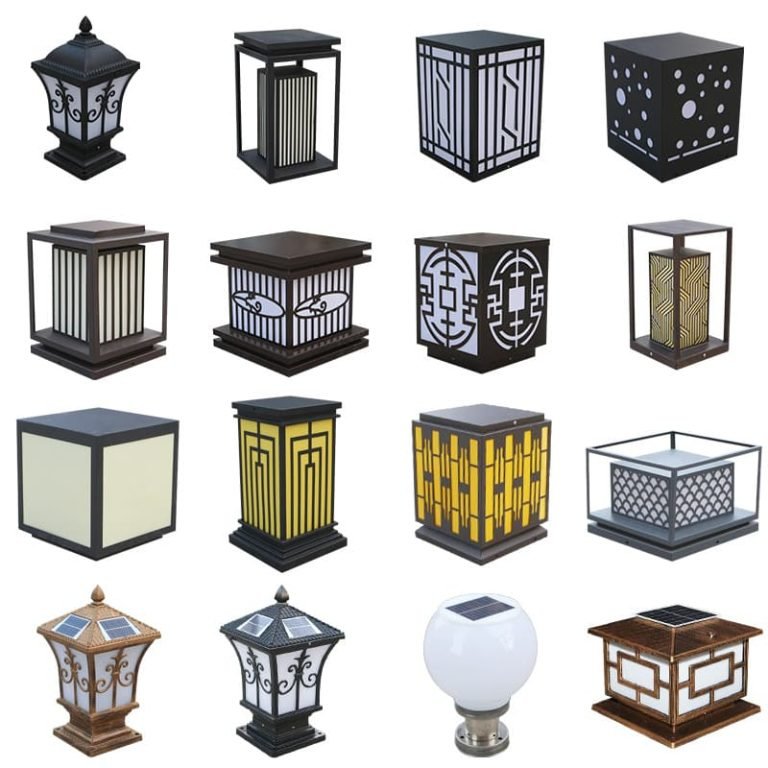
Before diving into the installation process, it’s important to choose the right type of pillar lights that suit your needs and preferences. Consider factors such as the design, materials, and lighting technology to ensure that they align with your desired style and functionality. You can refer to our new design of pillar lights, please contact us if interested (Email:sales@layvikay.com). Alternatively, you can refer to one of our purchasing guide articles:https://www.layvikay.com/solar-pillar-lights-purchase-guide/
Once you have selected the ideal pillar lights for your outdoor space, it’s time to get started with the installation. The first step is to determine where exactly you want to place each led pillar light. Take into account factors such as visibility, accessibility, and overall lighting design.
For example, where do these lights need to be mounted, on gatepost, on fence, or on the sides of courtyard path?Are these locations pre-wired?
Next, gather all the necessary tools and equipment required for installation. This typically includes a shovel or digger for creating holes. Additionally, if the installation location is not pre-wired, electrical wiring tools will also be required.
Now it’s time to prepare the installation area by clearing any debris or obstacles that might hinder the process. Ensure that there are no underground utilities such as gas lines or electrical cables in close proximity to where you plan on digging.
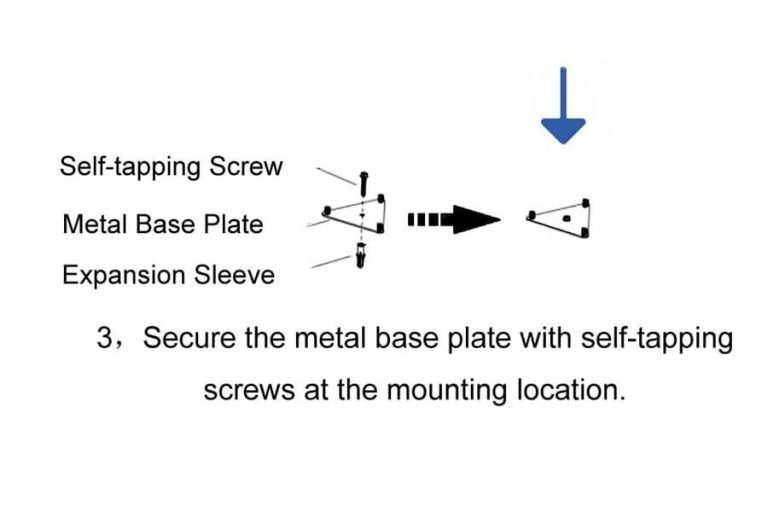
Once everything is prepared, begin by digging holes at each location according to the installation guides provided by the manufacturer of pillar lights. If mounted on the ground,the depth and width of holes will depend on various soil conditions and lamp sizes. If mounting on a concrete post, simply punch the appropriate screw holes.
After digging the holes, carefully place each pillar light into its respective hole ensuring stability and alignment with surrounding elements. If necessary, use additional support materials such as concrete or gravel around each base for added stability. If mounted on a concrete post, it’s even easier, just fix it with the matching expansion screws.
Once all the pillar lighting are securely installed and wired, test them to ensure they are functioning correctly. Make any necessary adjustments or fine-tuning to achieve the desired lighting effect.
Installing solar pillar lights are much easier than AC pillar lights because they require no wiring.
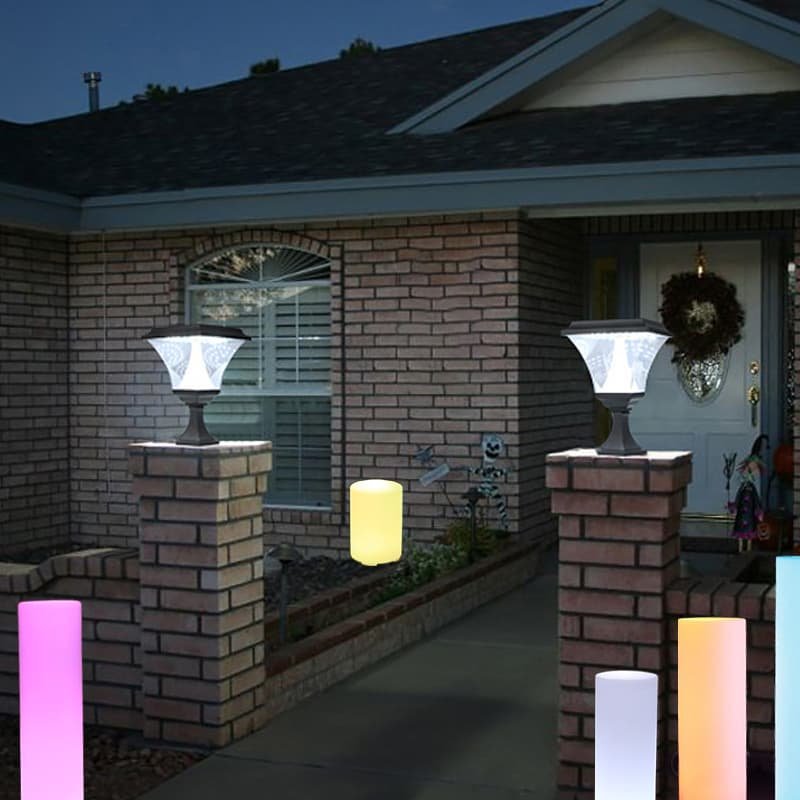
Before diving into the installation process, it is essential to choose the right location for your solar pillar light. Look for areas that receive ample sunlight throughout the day, as this will ensure optimal charging of the solar panels. Additionally, consider the desired height and positioning of the lights to achieve your desired lighting effect.
Once you have selected the ideal location, let’s move on to installing the pillar solar lights. Start by unpacking all components included in your light kit and familiarize yourself with them. Typically, these kits consist of a base or mounting bracket, a post or pillar cap, LED bulbs, and rechargeable batteries.
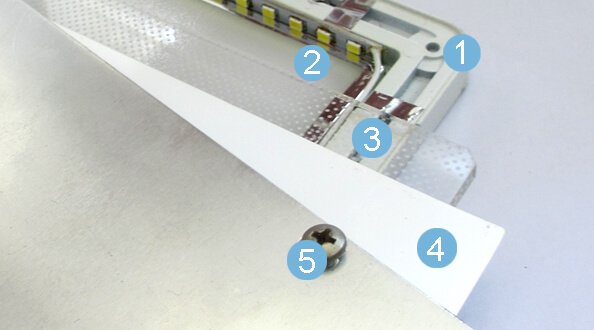
It should be noted that most solar lamp use SMD beads or straw hat beads, which are already built into the fixture along with the rechargeable battery.
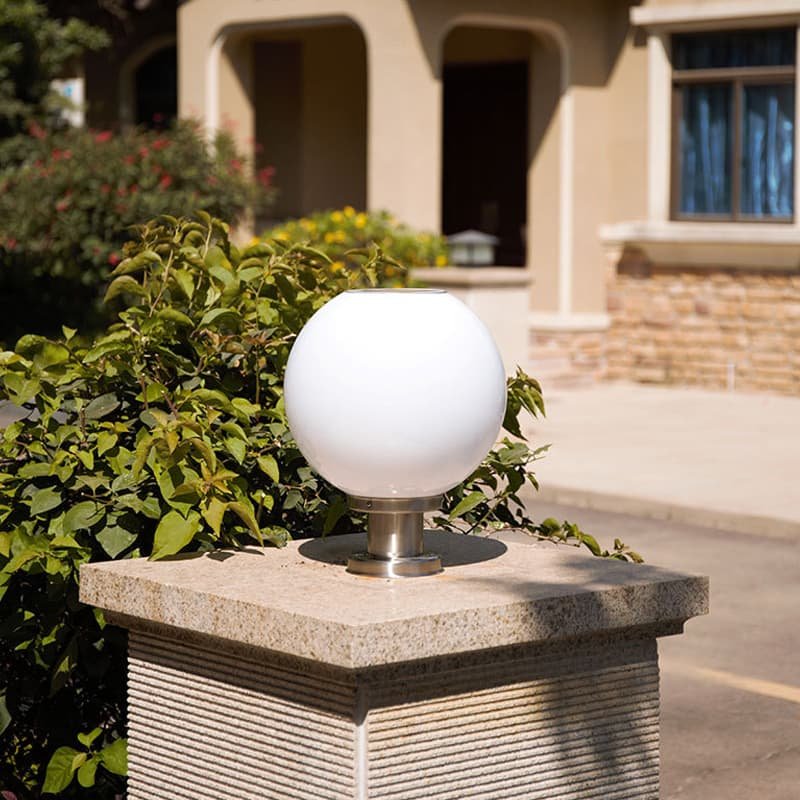
Begin by attaching the base or mounting bracket securely to a flat surface using screws or adhesive provided in your kit. Ensure that it is level and stable before proceeding further. Next, attach the post or pillar cap onto the base firmly.
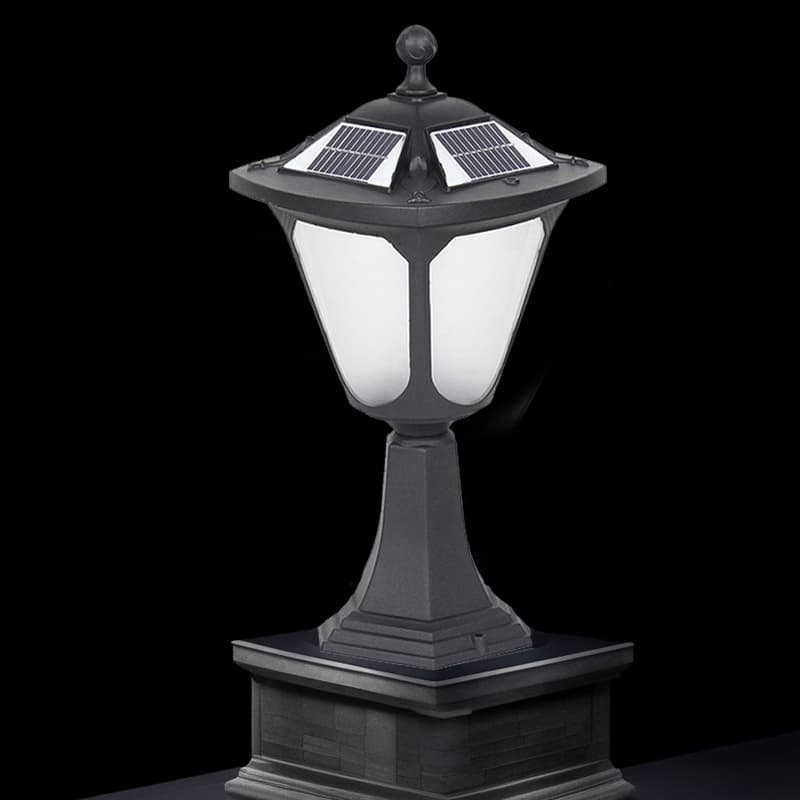
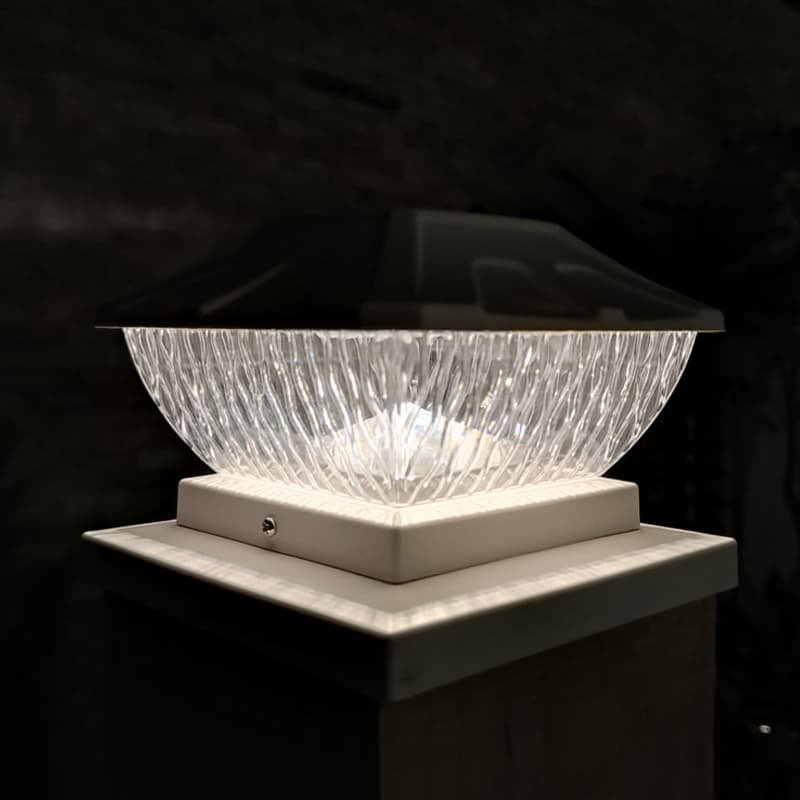
Take layviKay solar gate light as an example, please see the following description:
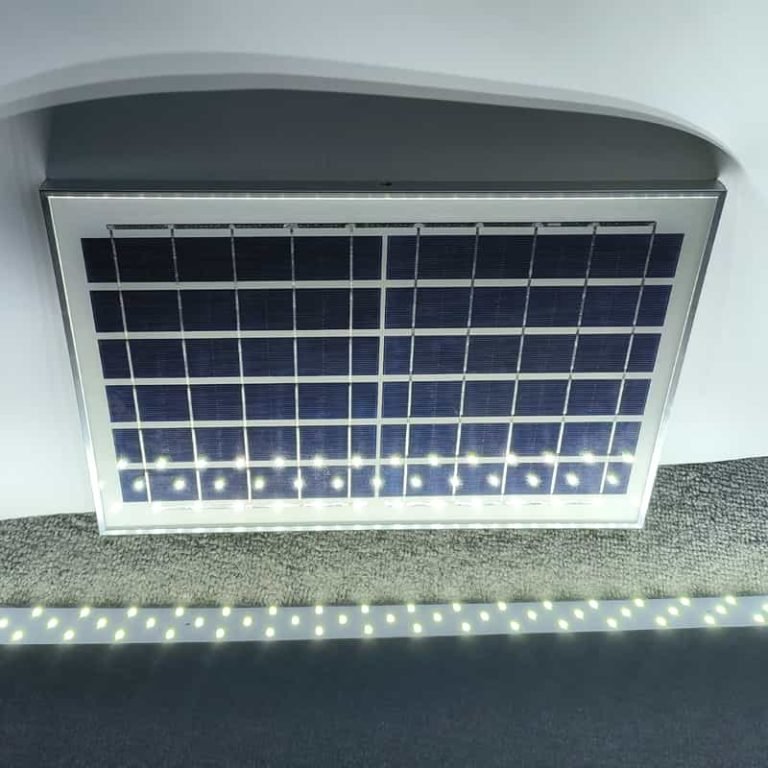
After securing all components in place, locate the solar panel on top of one of your posts. Make sure it is facing upwards towards direct sunlight for maximum exposure throughout the day. Most LED pillar lights are all-in-one structures, meaning that the light and solar panel are integrated together. Therefore, consider the best location before installing the fixture.
Finally, insert the rechargeable battery into the designated location inside the fixture.These batteries store energy from sunlight during daylight hours to power up your solar column lights during night time.
Remember to give them some time (usually 24-48 hours) to fully charge before experiencing their full illumination potential. Enjoy the energy-efficient and captivating ambiance they bring to your outdoor space!
In conclusion, installing pillar lights can transform your outdoor space into a visually appealing and well-lit area. By following these step-by-step instructions and taking necessary safety precautions, you can enjoy the benefits of beautifully illuminated pillars that enhance both the aesthetics and functionality of your outdoor environment.
How To Purchase A Right LED Panel Light? LED panel light is a popular choice for indoor lighting application. It is designed to provide a bright, even, and energy-efficient lighting…

All Need to Know About Lifespan in Your LED Lighting Projects LED lighting has become mainstream in a variety of lighting applications due to its high energy efficiency and environmental…
Why Use an Isolated Driver in Your LED Light? In the world of LED lighting, the LED driver plays a crucial role in ensuring the safety and longevity of LED…
Can You Charge A Solar Panel With An Led Light? Solar panels and LED lights have revolutionized the way we harness and utilize energy. Solar panels, with their ability to…

Why Solar Light Batteries Need Overcharge and Overdischarge Protection? Have you ever wondered why the batteries in solar lights require an overcharge and overdischarge protection feature? These safety measures aren’t…
What Is The Best Solar Pillar Light On The Market? The “best” solar pillar light can vary depending on your specific needs, preferences, and the desired style for your outdoor…